5 Fun and Hands-On Ways to Play with Slime
Affiliate and Referral links are used below to promote products I love and recommend. I receive a commission on any purchases made through these links. Please see my disclosure policy for more details. As an Amazon Associate, I earn from qualifying purchases.
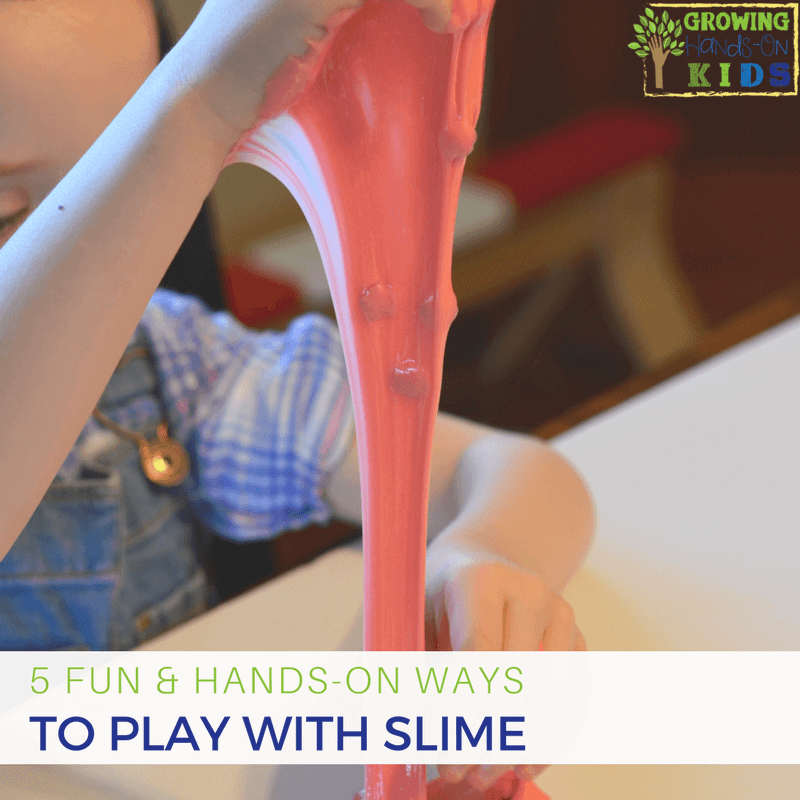
Have you seen all the slime recipes floating around online recently? It seems slime is really popular right now. And I'm always up for a good sensory play recipe to try with my daughter. So when Hobby Lobby asked if I would team up with them to create some slime and share about it, I jumped at the opportunity. Plus, who doesn't love shopping at Hobby Lobby? My daughter and I found these 5 fun and hands-on ways to play with slime. I think she could play with it for hours!
This is a sponsored conversation written by me on behalf of Hobby Lobby. The opinions and text are all mine.
Before we started playing with our slime, I had to find a recipe that would actually work. And that was harder than you would think. I attempted a recipe with powdered borax and that was a definite dud. So I went on the search for a slime recipe that was bound to work the first time.
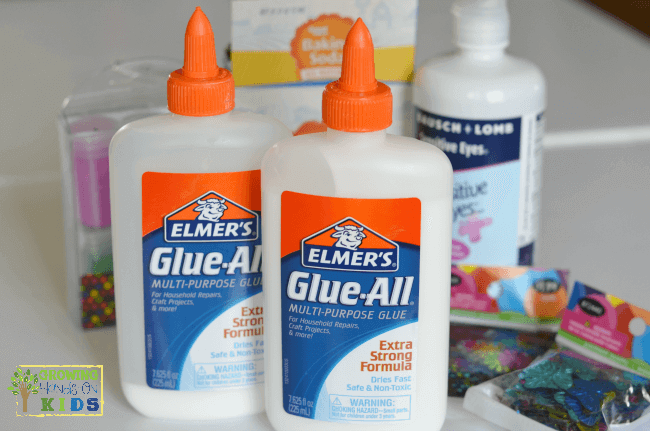
Apparently my friend and fellow blogger Shelley at SteamPowered Family, had similar issues with slime recipes. She created this super easy, 3 ingredient, no liquid starch or borax powder way to make slime. Her Super Simple, Super Stretchy Slime recipe works like a charm!
We also picked up some glitter, food coloring, plus butterfly and flower confetti to celebrate spring. It's so nice being able to grab everything you need in one place, like Hobby Lobby.
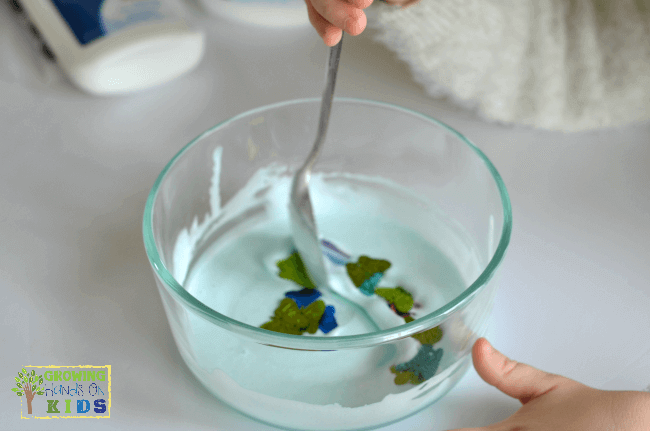
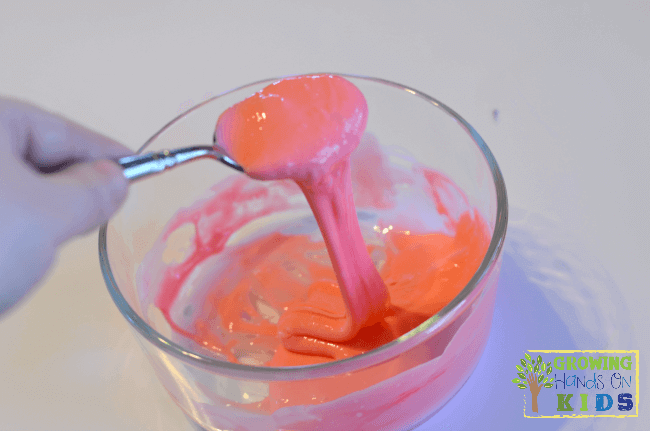
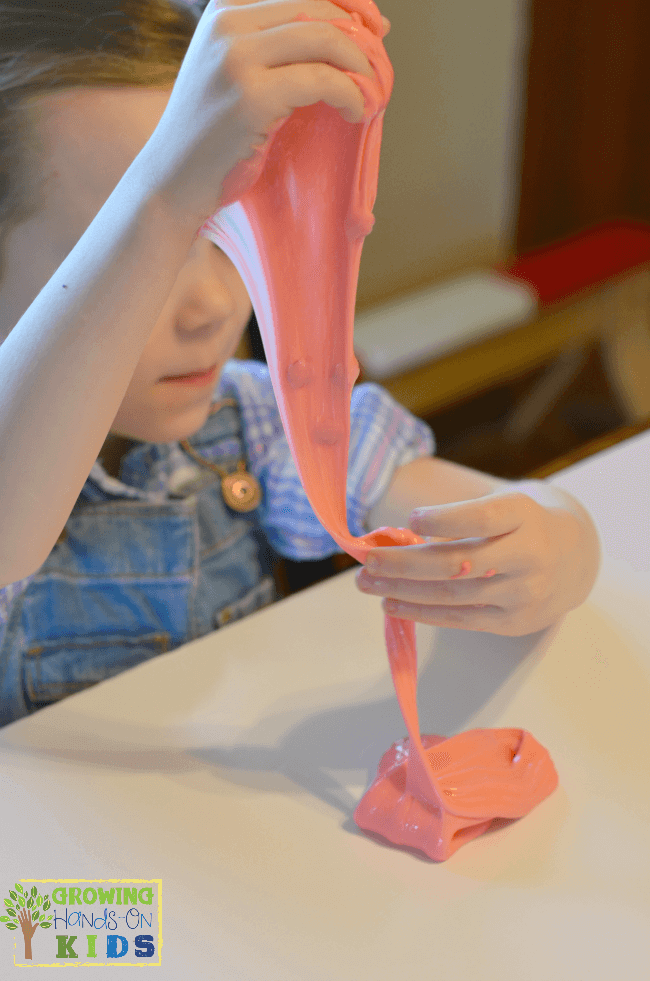
My daughter wanted to use glitter and butterfly confetti for her first attempt. We also made a pink slime with food coloring later on.
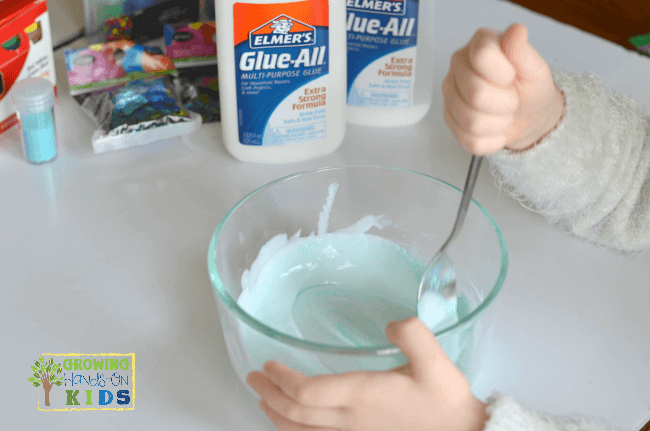
We added that to the glue mixture before adding the buffered saline drops (which help create the slime – Click here to get the full recipe). I let her mix the glue and glitter together, along with the confetti.
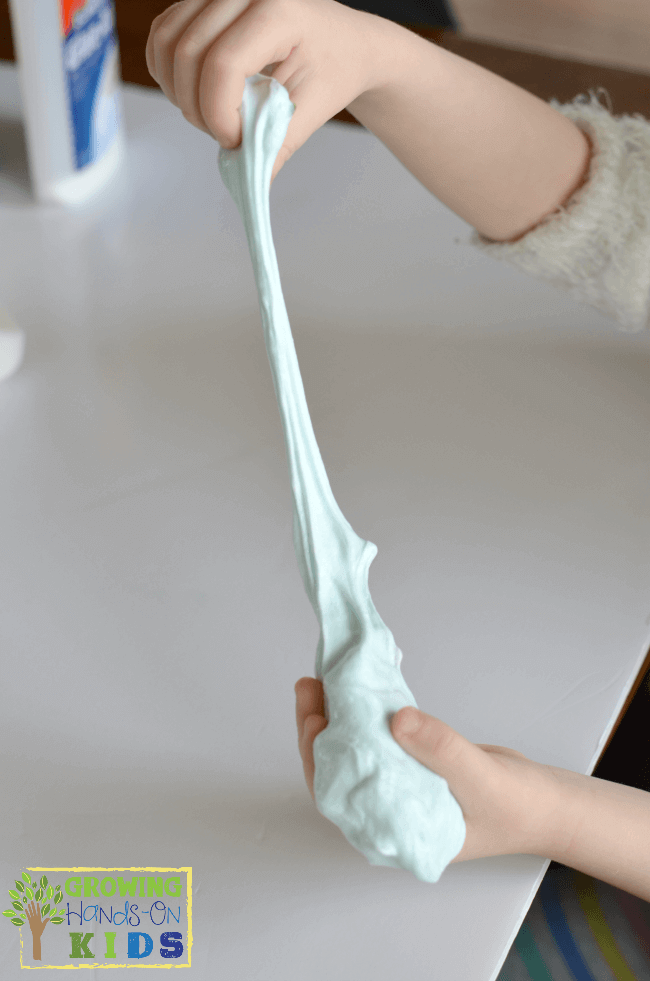
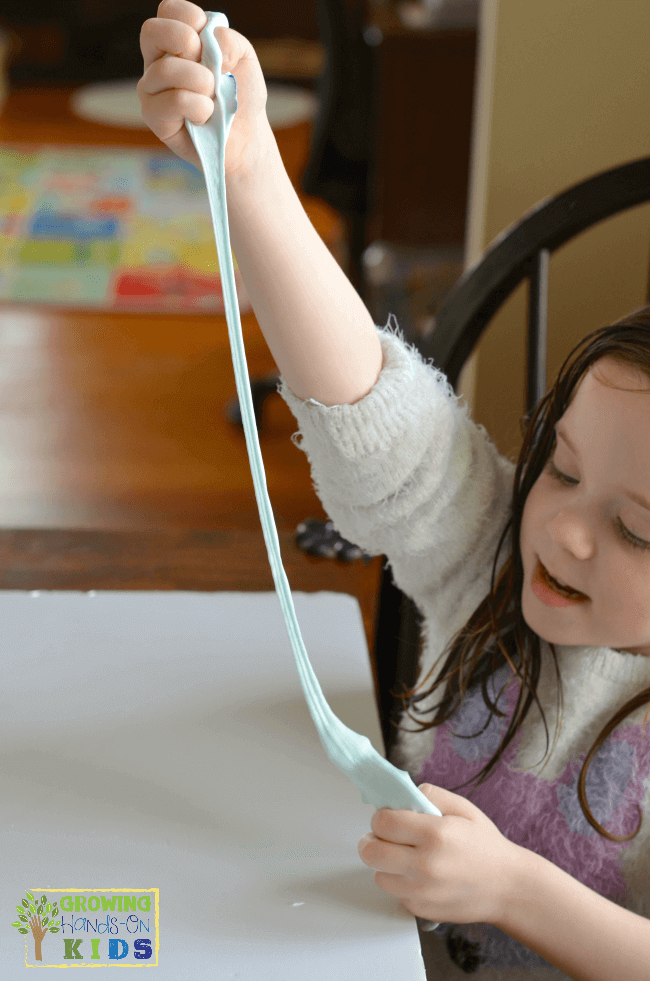
After adding the eye drop mixture, it turned into this amazing stretchy slime that was so fun to pull apart. I made this part of the slime just to be safe, since my daughter in four. If you have an older children, they may be able to help with this part, but always supervise.
You will need to knead for a little while like bread to get the consistency you want and need. It will be sticky at first but should start forming better after you kneed it.
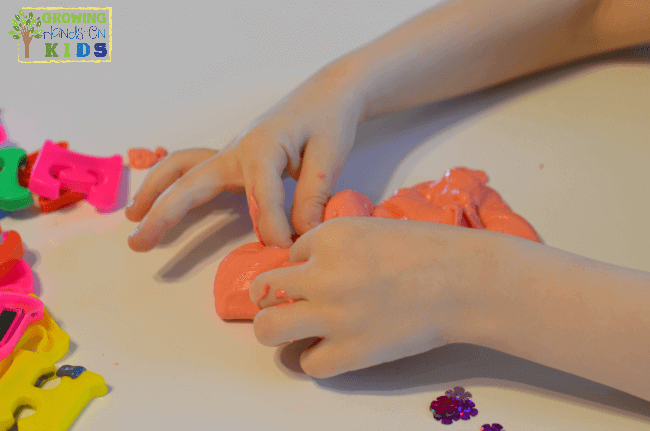
Look at that awesome bilateral coordination practice of using both hands together and crossing midline to pull apart the slime. My mama Occupational Therapy heart loves it!
We kept our slime in plastic bags after we were done playing with it. It does harden up and tends to break, so you may need to kneed it again and it might not be as stretchy. But since it is so easy and fast to make, I plan on just making it as we want to play with it and only keeping it a day or two past that.
5 Hands-On Ways to Play with Slime
As my daughter was playing with our slime, she started pulling out all kinds of things to use with it. I was amazed at her creativity and focus. Here are some hands-on ways to play with slime, inspired by my 4 year old.
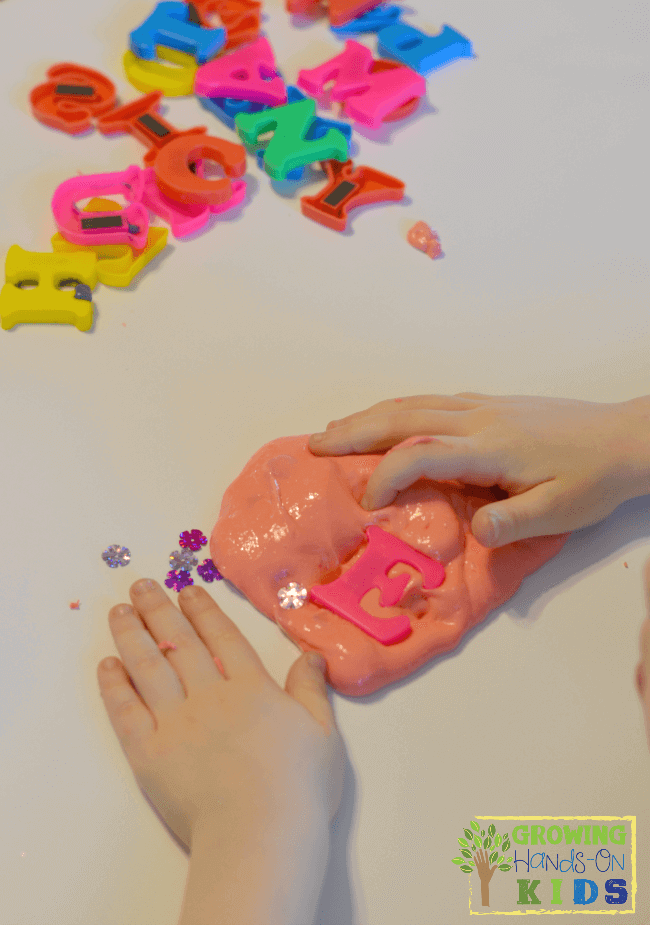
- Use letter magnets to make imprints in your slime – you could even have your child create their name or sight words/spelling words.
- Practice pre-writing lines and shapes – use the slime to create vertical and horizontal lines, circle shapes, cross shapes and more. All of these are needed for future handwriting skills.
- Search for hidden objects in the slime – we used our butterfly or flower confetti for this. You could count out how many are hidden as your child pulls them out of the slime. Or sort the objects by color or types. The possibilities are endless with this one.
- Create a slime discovery bag – Since my 19 month old can't really play with slime (since it is not edible and should not be used with children who are still putting items in their mouths), I stuck some slime in a plastic bag for him to play with. Out of caution, I used two bags, one inside of the other. You could also tape around the edges to make sure nothing is torn apart. This should only be done when you can be there to watch your child closely (as with all slime play).
- Make scented slime for added sensory input – If you have some scented food coloring or essential oils, you could consider adding those to the slime for added sensory input. Calming or organizing scents such as Vetiver or lavender could be great additions.
Hobby Lobby is offering my readers a special 40% off discount code to use at their stores or online. Check out all the details on the coupon graphic below and you can also click on it to head over to Hobby Lobby online to use your coupon code.

Heather Greutman, COTA
Heather Greutman is a Certified Occupational Therapy Assistant with experience in school-based OT services for preschool through high school. She uses her background to share child development tips, tools, and strategies for parents, educators, and therapists. She is the author of many ebooks including The Basics of Fine Motor Skills, and Basics of Pre-Writing Skills, and co-author of Sensory Processing Explained: A Handbook for Parents and Educators.


Thanks for sharing! We had scheduled play dough making for a homeschool activity. I found that a lot of playdoughs that are homemade just haven’t been turning out right. Too dry etc. I think my kiddos will be much more interested in slime. Today in the car we listened to a science podcast about slime and then I stumbled upon this! Thanks for the great ideas. Will give this a try!