Winter Sensory Play: DIY Melted Snowman Sensory Bin
Affiliate and Referral links are used below to promote products I love and recommend. I receive a commission on any purchases made through these links. Please see my disclosure policy for more details. As an Amazon Associate, I earn from qualifying purchases.
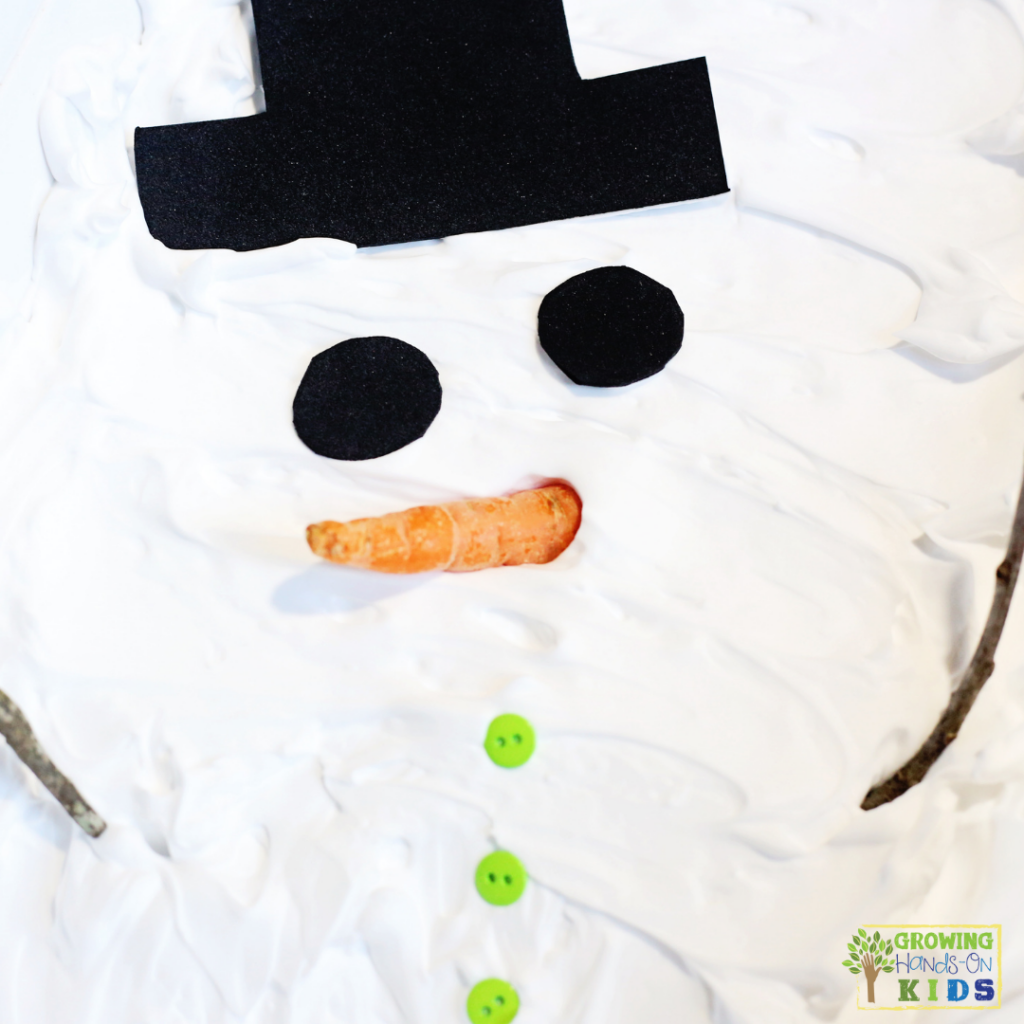
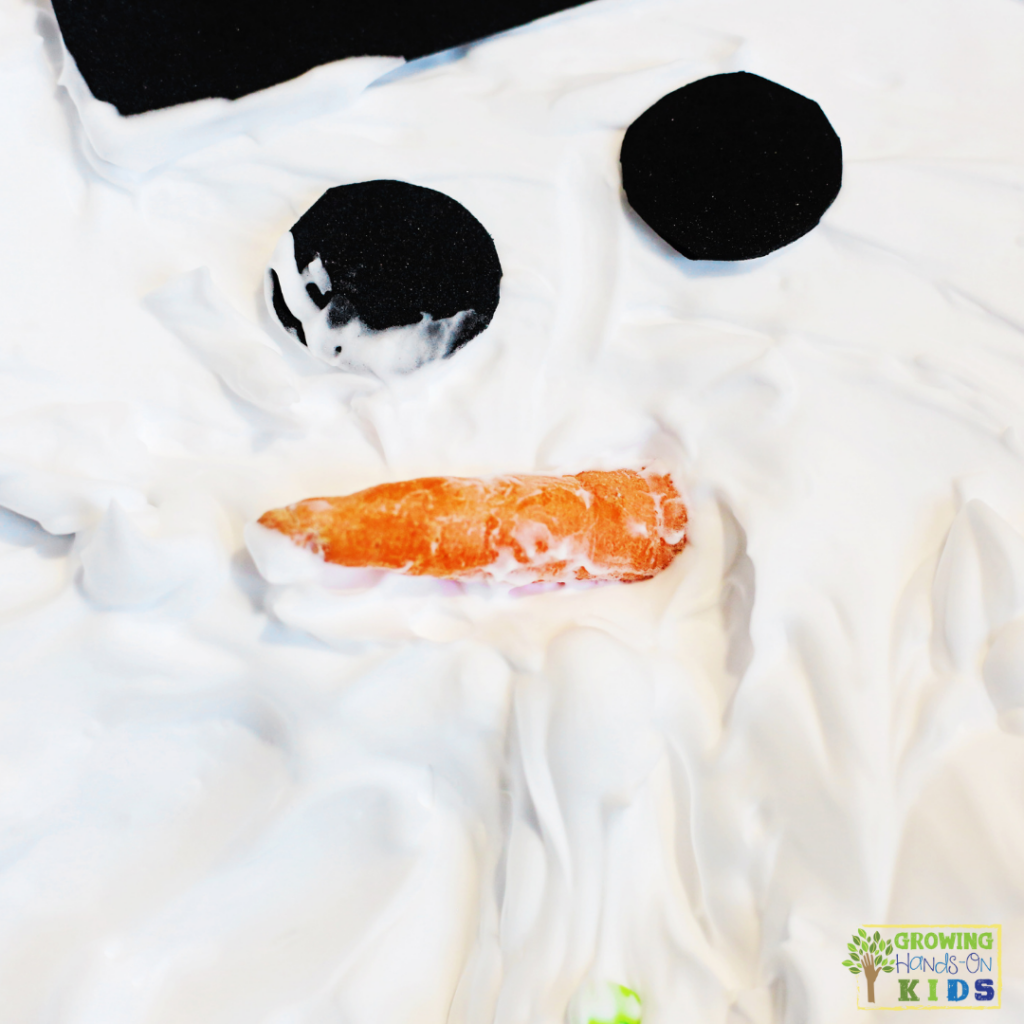
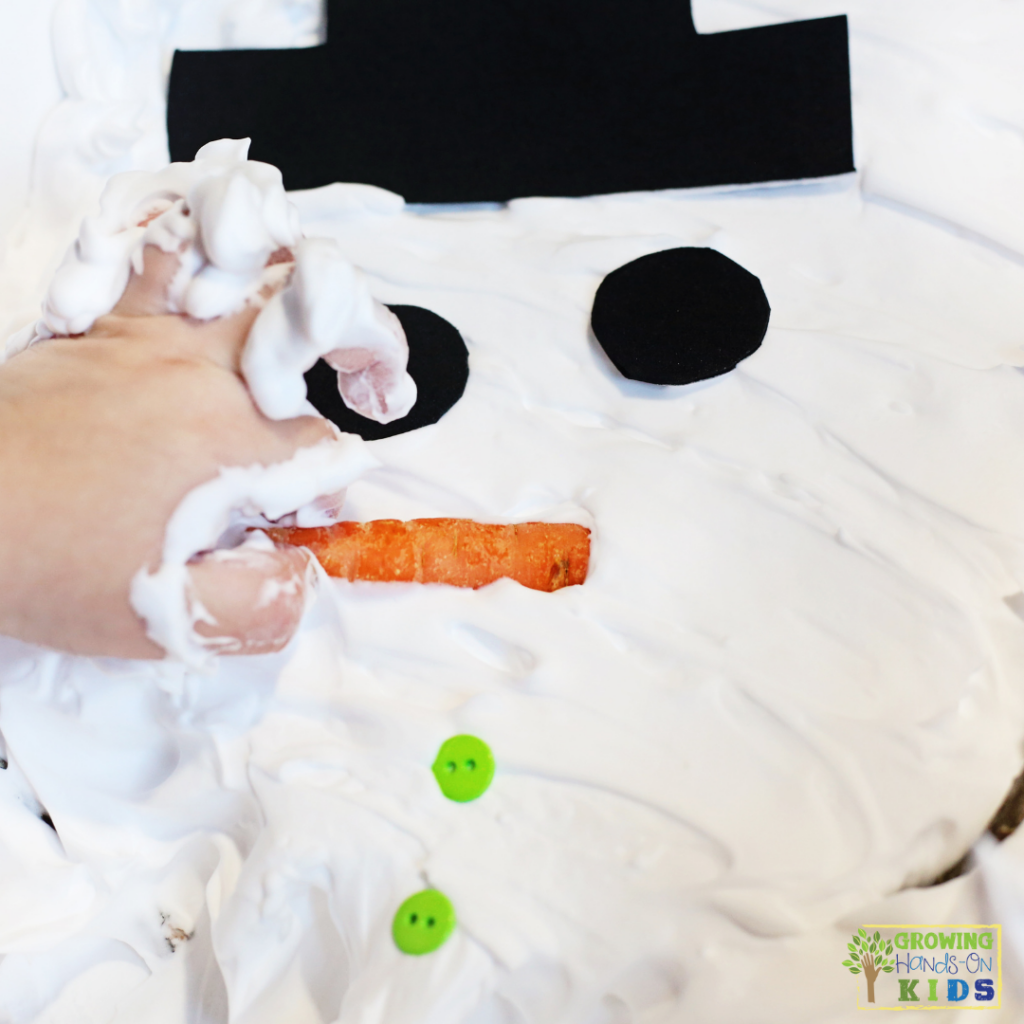
I love a good shaving cream activity. And what better way to use it than with a fun winter sensory activity with this Melted Snowman Sensory Bin!
This hands-on activity combines sensory exploration with imaginative play, making it a hit with little ones. Plus, it’s quick to set up and easy to clean.
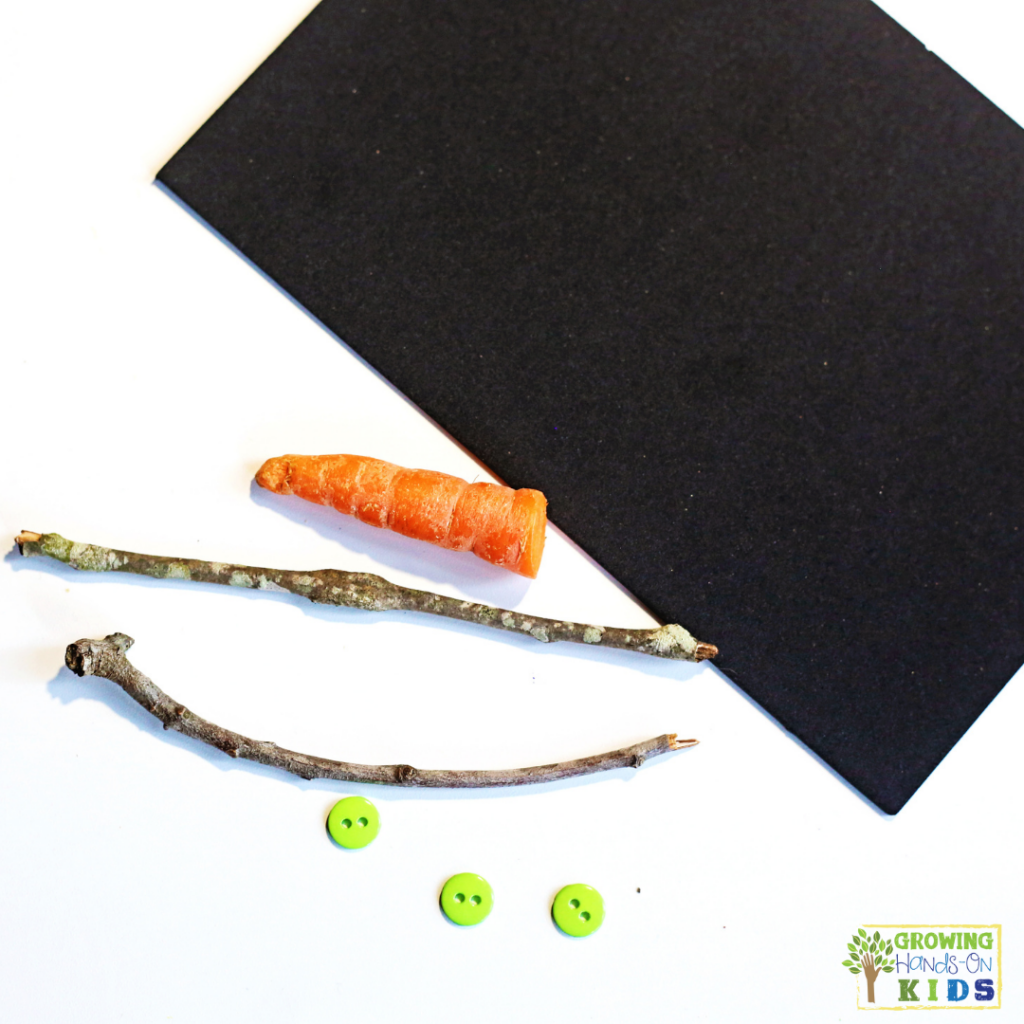
What You’ll Need
- Shaving cream
- Black foam sheet
- Two sticks
- Carrot
- Buttons
- Scissors
- Sensory bin or tray
Instructions:
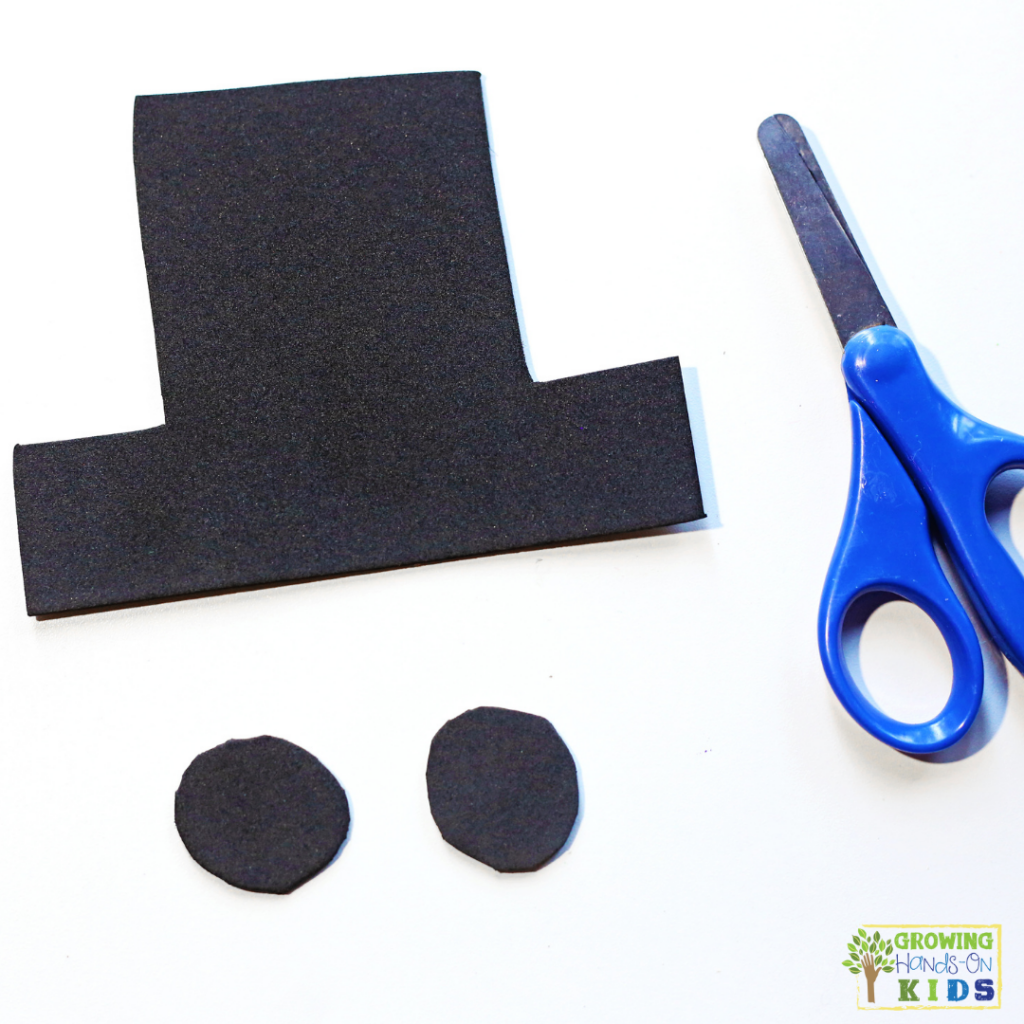
- Create the Snowman Parts: Cut a hat shape and two circles for eyes out of the black foam sheet.
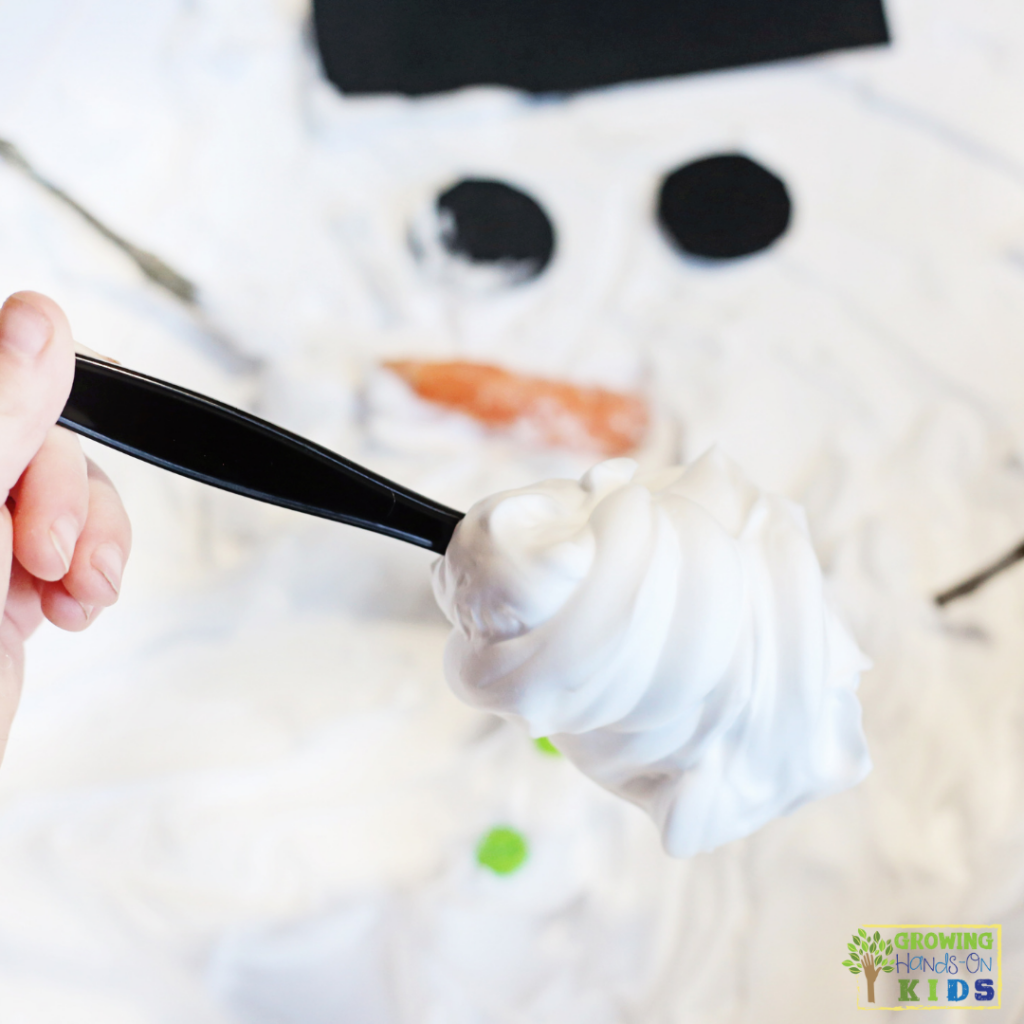
- Prepare the Sensory Base: Fill the bottom of the sensory bin with shaving cream. Smooth it out with the back of a spoon.
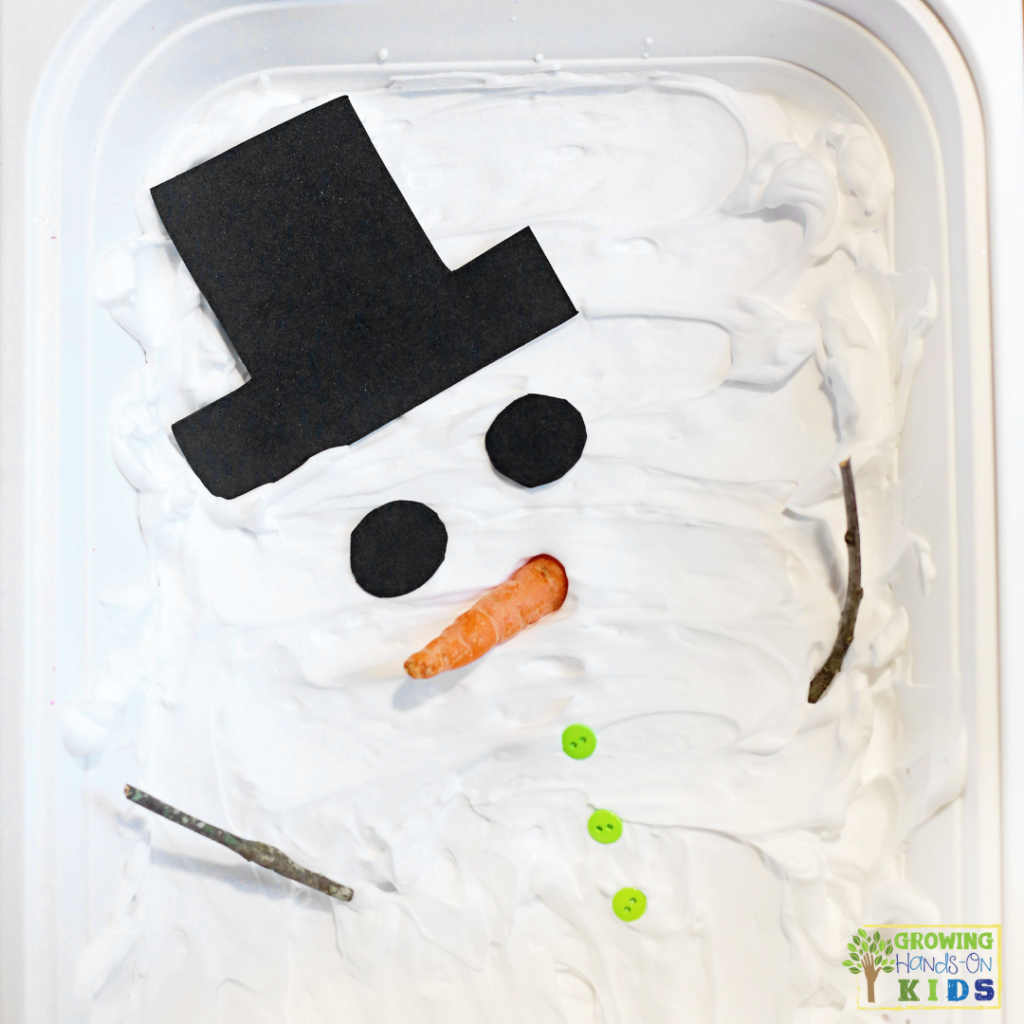
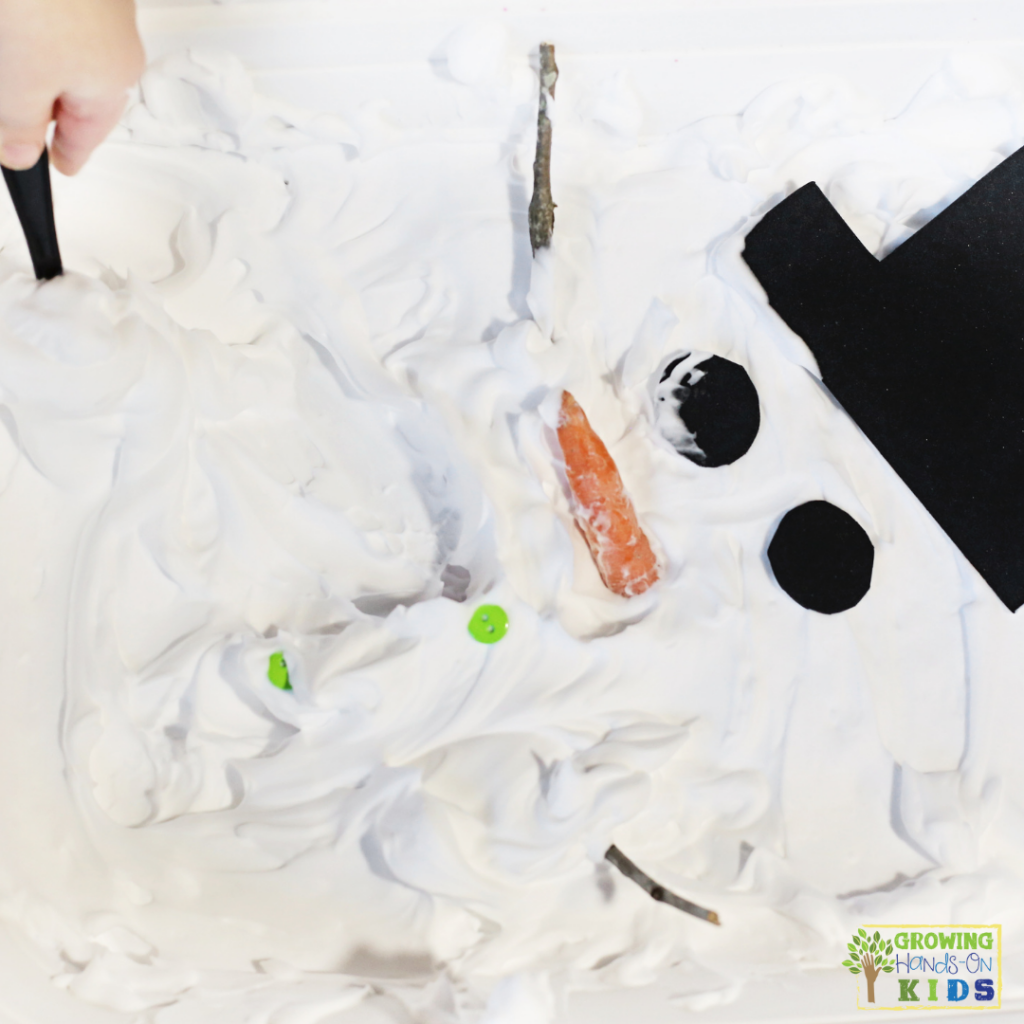
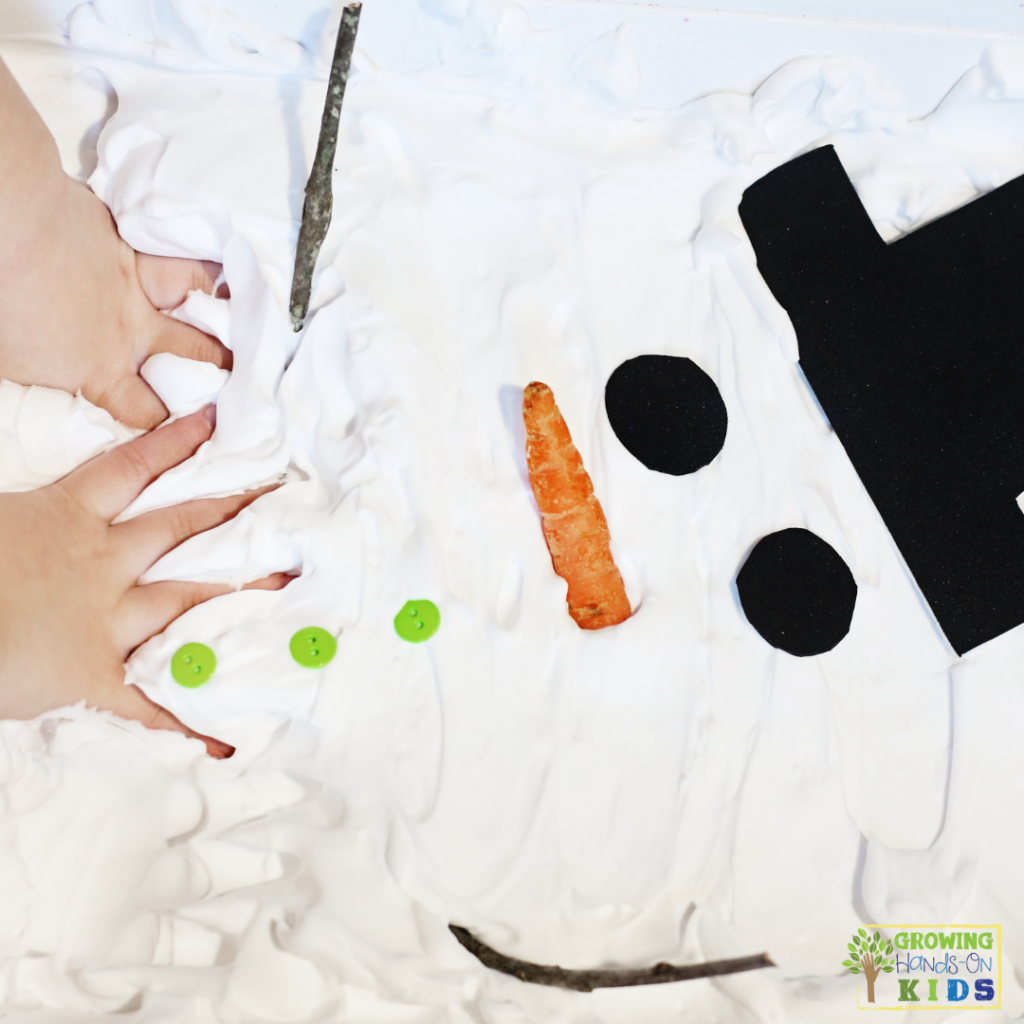
- Add the Fun: Place the snowman parts—hat, eyes, carrot, buttons, and sticks—on top of the shaving cream.
Tips & Play Suggestions
Build and Rebuild: Encourage kids to construct a melted snowman by arranging the parts in creative ways. Since shaving cream rinses off easily, they can rebuild the snowman as many times as they like!
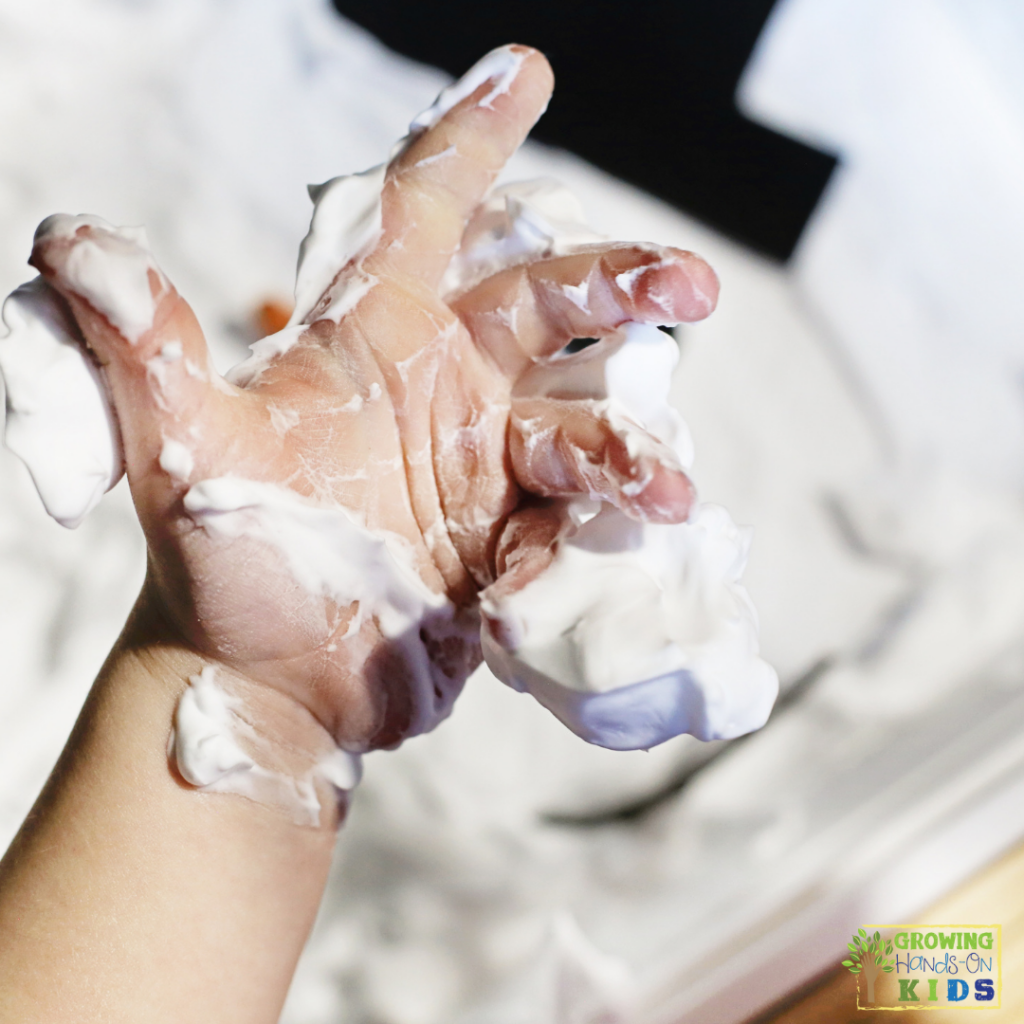
Explore Textures: Ask your child how the shaving cream feels when they squish it between their fingers—smooth, fluffy, or maybe even cool!
Keep it Simple: Just an inch of shaving cream is all you need to cover the bin.
Durable Materials: Use craft foam for the eyes and hat to ensure the parts don’t get soggy during play.
Scoop and Stir: Provide a spoon for kids to scoop and stir the “snow,” adding another layer of sensory fun.
This winter sensory play activity is perfect for a snowy day indoors or as a winter-themed addition to the sensory play station in your classroom. It encourages creativity, fine motor skills, and sensory exploration—all while having loads of fun!
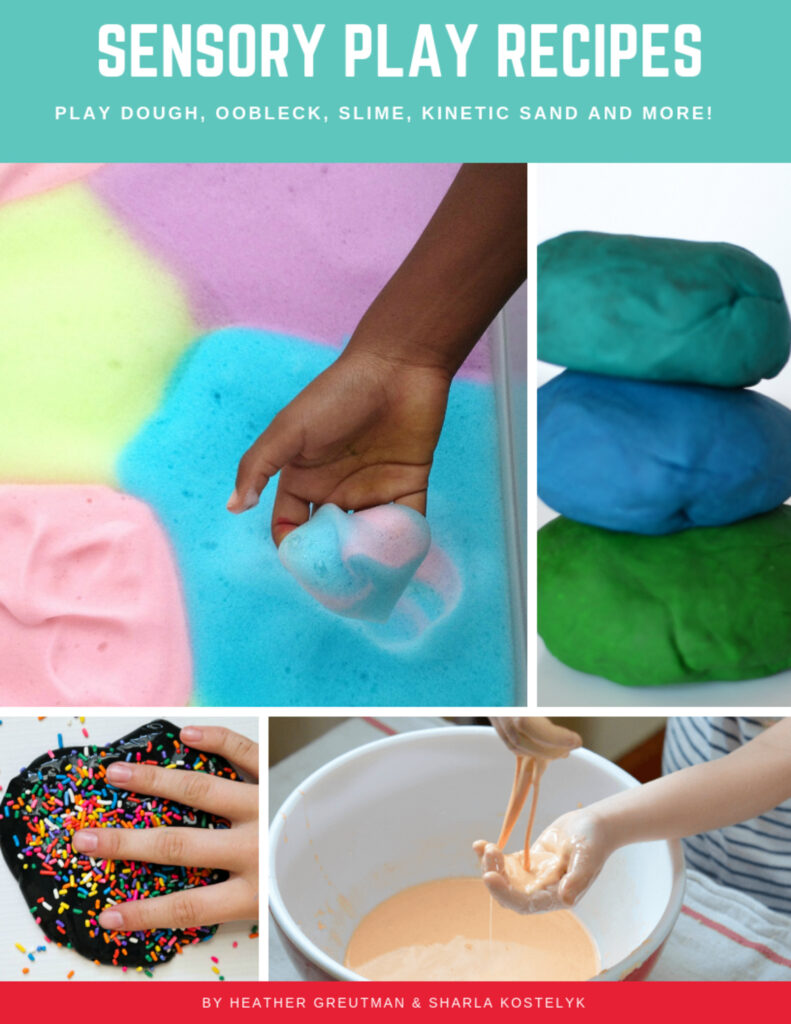
Sensory Play Recipes Instant Download!
I know there are tons of sensory play recipes you can search for on Pinterest or Google. But I also know you are BUSY parents, teachers, or therapists and want tried and tested recipes that you can pull out quickly.
That is why I created this Sensory Play Recipe instant download PDF with my friend Sharla on our site Sensory Processing Explained.
You’ll get 25+ mom and therapist-tested recipes that have been approved by our kids!
Sensory Play Recipes include things you can make easily at home including slimes, oobleck, playdoughs, cloud doughs, kinetic sand, and more. The recipes include photos and easy-to-follow step-by-step instructions.
Price: $10, Instant Download!
DIY Melted Snowman Sensory Bin
Equipment
- 1 Sensory bin or tray
- Scissors
Materials
- Shaving Cream
- Black foam sheet
- 2 Sticks
- 1 Carrot
- 3-4 Buttons
Instructions
- Cut a hat shape and two circles for eyes out of the black foam sheet.
- Fill the bottom of the sensory bin with shaving cream. Smooth it out with the back of a spoon.
- Place the snowman parts—hat, eyes, carrot, buttons, and sticks—on top of the shaving cream.
Notes
You May Also Like:

Heather Greutman, COTA
Heather Greutman is a Certified Occupational Therapy Assistant with experience in school-based OT services for preschool through high school. She uses her background to share child development tips, tools, and strategies for parents, educators, and therapists. She is the author of many ebooks including The Basics of Fine Motor Skills, and Basics of Pre-Writing Skills, and co-author of Sensory Processing Explained: A Handbook for Parents and Educators.

